Getting Access
Access is granted by our support team, who needs to know first who among your organization should be considered organization admins.
Organization admins can access this user management screen and will eventually be able to manage roles on the Studio projects as well.
Once access is granted, a new option appears in the dashboard, called "Account Management".

Adding Users
Adding users to your organization is done with the Add User button.
If that person does not have a NOS account yet, she will receive an email to set it up.
The setup link in the email is valid for 7 days. After this delay, our support team can trigger a new email upon request.
Assigning Applications and Services
To see who is assigned to your Studio projects and support service, click on the card with their name in the left panel. Then, you can assign or unassign users to them by clicking the checkmark icon.

Note that you won't be able to assign more people than your quota allows: you can see them anytime by looking at the corresponding card.

Click on the card again to remove the filter.
Service Renewal
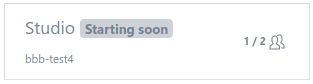
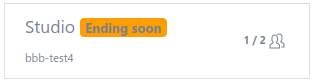
You may see multiple entries for a given service when it is about to expire / be renewed. Soon to expire services are shown with a specific badge on them, same for the ones about to start.
Existing permissions are copied over when the renewed service entry is created. Afterwards, entries are independent so make sure to apply your changes to both if you want to avoid any discrepancy.
Removing Users
Removing a user from your organization is done by clicking the trash icon on that particular user.

Confirming the action will remove access to all applications and services from this organization; it does not delete the user account. If that person is also a member of other organizations, access to them remains unchanged.